
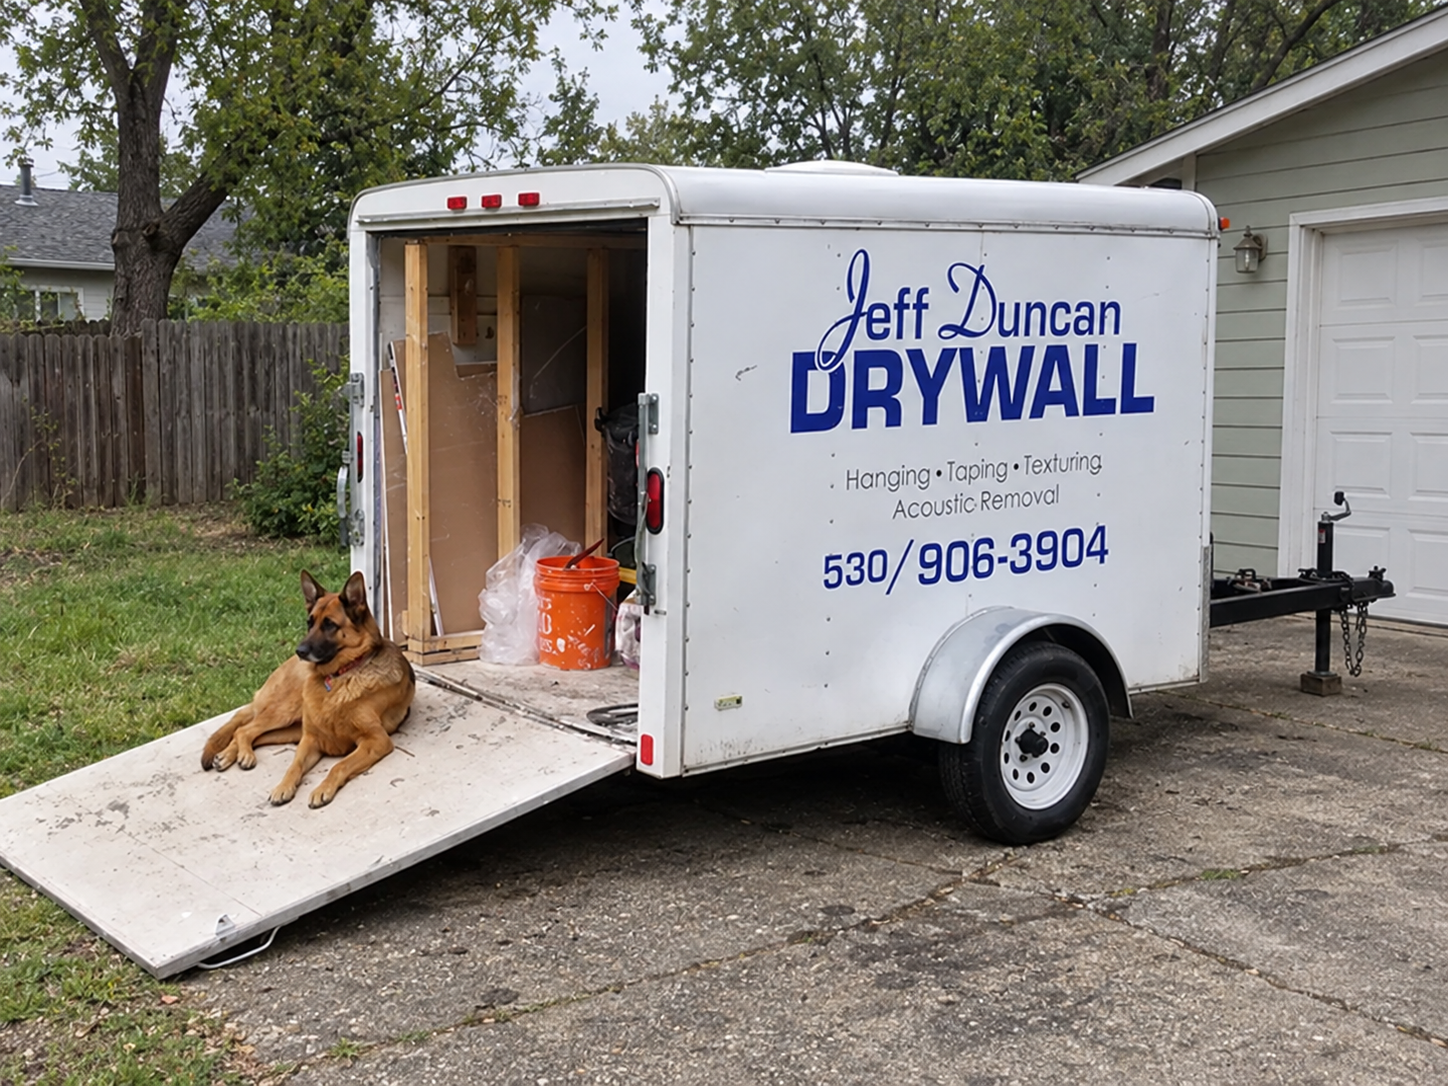
Drywall Taping & Finishing in Nevada & Placer County
From crisp internal angles and durable metal corner beads to full Level 5 skim coats, Jeff Duncan personally executes the coat sequence required for flat, monolithic surfaces.
Drywall taping is the art of transforming dozens of separate gypsum panels into a single, unbroken expanse of wall and ceiling. While anyone can put mud on a seam, producing flat planes that withstand changing light and close inspection requires controlled compound viscosity, exact knife pressure, and an uncompromising sequence of coats.
The Three-Coat Sequence
Finishing a joint is never a one-step or two-step process. A proper taper follows a methodical three-coat sequence to build a stable, flat joint that will not shrink or develop hollow lines:
- The Bed Coat (Embedment): High-adhesion taping compound is applied into the recessed seam, and paper tape is firmly seated into the wet mud. Excess compound is wiped tight without starving the tape of adhesive contact.
- The Fill Coat (Block Coat): Once the bed coat is fully dry, a wider knife (typically 8 to 10 inches) applies a second layer of compound over the tape to fill the recess and bridge the transition between the board face and the tape centerline.
- The Finish Coat (Skim Coat): A 12-inch or 14-inch trowel applies a fine, thin pass of lightweight finishing compound, feathering the edges out smooth so the seam blends invisibly into the face paper.
Understanding Finish Levels 1 Through 5
The Gypsum Association and Association of the Wall and Ceiling Industry (AWCI) classify drywall finishes into five distinct levels. Knowing which level your space requires prevents both overpaying for unnecessary labor and under-specifying critical rooms:
- Level 1: Tape embedded in compound on all joints and angles. Tool marks and ridges are acceptable. Commonly specified for above-ceiling plenums, service corridors, and areas concealed from view.
- Level 2: A thin coat of compound wiped over joints and fastener heads. Corner beads are bedded. Specified where water-resistant tile backer or paneling is to be installed.
- Level 3: Tape embedded and one additional coat applied over all joints and fasteners. Smooth and free of tool marks. Specified for areas receiving heavy or medium-texture finishes before final paint.
- Level 4: Tape embedded plus two separate finish coats over all flat joints, internal corners, and screw heads. Fasteners and joints are sanded smooth. This is the standard finish for residential living spaces receiving light textures or flat to low-sheen wall paint.
- Level 5: All steps of Level 4 plus a continuous thin skim coat of compound applied over the entire wall and ceiling surface, either by knife, roller, or spray, and smoothed out.
Why Level 5 Matters Under Raking Light and Flat Paint
Many Sierra foothill custom homes feature expansive picture windows, tall vaulted ceilings, or clerestory glass designed to capture mountain vistas. When sunlight streams across a wall at a parallel or shallow angle (raking light), the natural difference in porosity and texture between raw drywall paper and sanded joint compound becomes glaringly apparent.
Untreated drywall paper absorbs paint differently than compound, creating a visual phenomenon known as "joint flashing" or "photographing"—where every seam is visible even though the wall feels flat to the touch. A true Level 5 finish covers the entire paper face with a microscopic layer of compound, creating a 100% uniform surface porosity that eliminates joint banding under severe natural daylight and direct wall-wash lighting.
Corner Bead and Inside Angles
Outside corners take daily abuse from foot traffic, furniture moving, and vacuum cleaners. Jeff installs heavy-gauge metal or vinyl corner bead set straight and true to line, bedded with structural compound and feathered out wide so corners remain sharp and impact-resistant. Inside angles are wiped crisp and square to ensure trim carpenters have true 90-degree lines when installing baseboards and crown molding.
Sanding Precision and Dust Control
The secret to a great finish is applying compound so cleanly with the knife that minimal sanding is required. Over-sanding scuffs the gypsum paper and creates fuzzy fibers that show through paint. Jeff uses fine-grit abrasives and sanding sponges under work lights to catch tiny imperfections. In occupied homes, dust containment, floor protection, and air filtration protect your home's interior.
Frequently Asked Questions: Drywall Taping & Finishing
What is the difference between a Level 4 and Level 5 finish?
A Level 4 finish includes tape embedded in compound plus two additional coats over all flat joints and fastener heads, sanded smooth. It is the industry standard for textured walls or flat paints with normal lighting. A Level 5 finish adds a continuous thin skim coat over the entire wall surface to equalize porosity between gypsum paper and compound, eliminating joint banding under raking light.
How many coats of compound are applied to a joint?
A proper drywall joint receives three distinct coats: the tape embedment coat (bed coat), the fill coat (feathered wider to conceal the tape), and the finish skim coat (feathered out to 12 inches on factory joints and 18 to 24 inches on butt joints). Each coat must dry thoroughly before the next is applied.
Why does raking light show drywall imperfections?
Raking light strikes a wall at a shallow angle—such as sunlight from floor-to-ceiling windows or hallway wall sconces. Even minute variations in thickness or paper suction cast noticeable shadows. Rooms with raking daylight require a Level 5 finish or careful wide feathering to maintain visual flatness.
How is dust controlled during drywall sanding?
Dust control starts with applying compound smoothly so minimal sanding is needed. Jeff uses pole sanding with fine-grit abrasives, sponges angles cleanly, masks adjacent living spaces with plastic sheeting, and protects HVAC returns to keep foothill homes clean.
Need drywall taped, finished, or skim-coated?
Call Jeff Duncan directly to discuss your finish levels and timeline.
Service Area Map — Sierra Foothills
Request a Quote
Tell me about the job and I'll get back to you.