
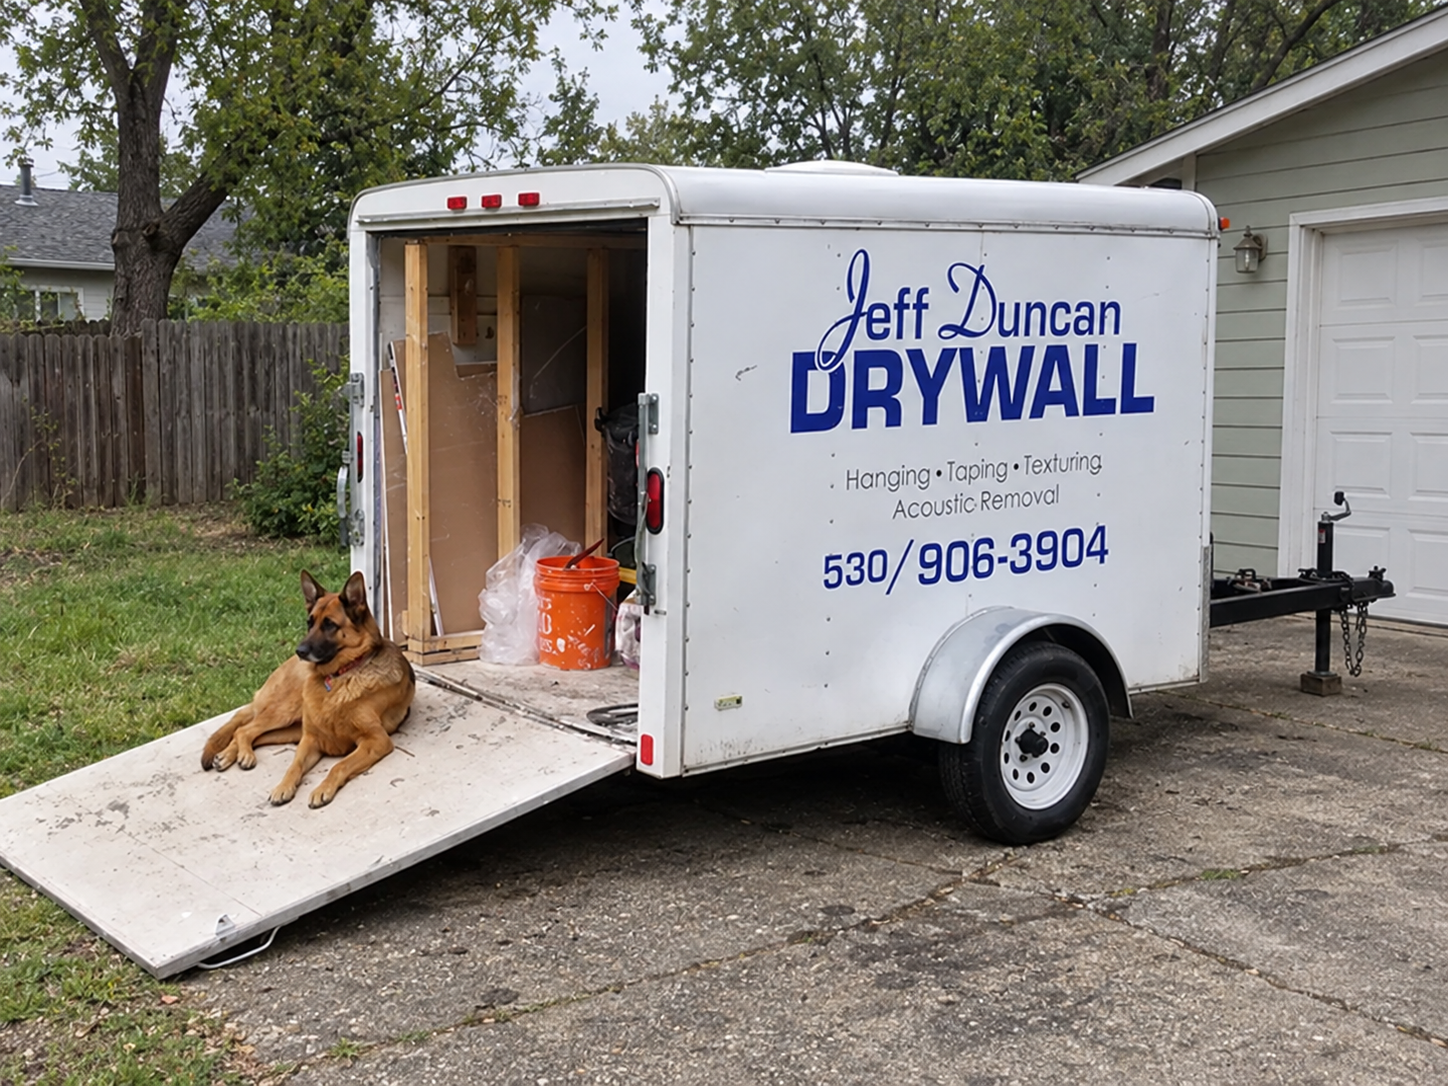
Drywall Installation & Hanging in Nevada & Placer County
A flat, durable finish begins with intelligent sheet layout, proper fastening, and meticulous attention to the underlying framing. Jeff Duncan hangs every sheet with the precision needed for seamless taping.
Hanging drywall is frequently treated as simple labor, but anyone who has had to tape over misaligned sheets or deal with screw pops six months after paint knows that hanging is a finish trade in its own right. In the Sierra foothills—where custom builds sit on rolling topography and older Gold Country homes have seen decades of seasonal expansion—the person hanging the drywall must understand what the taper will encounter on every seam.
Sheet Layout and Staggered Seams
The layout of drywall sheets determines the structural stability of the wall and ceiling planes. Whenever possible, longer panels (12-foot or 14-foot sheets) are utilized to minimize the total number of butt joints. Unlike factory recessed edges that naturally accommodate joint compound and tape, butt joints require feathering compound out 18 to 24 inches to create an optical illusion of flatness.
On ceilings and long wall runs, joints are deliberately staggered rather than aligned in continuous straight lines. Staggering distributes structural stress across multiple framing members, reducing the likelihood of cracking caused by natural foothill thermal movement between hot summer afternoons and freezing winter mornings. Joints are also kept well away from the corners of door and window openings, where structural header movement inevitably causes diagonal fractures in poorly planned installations.
Ceilings First: Why Order of Operations Matters
Drywall installation follows a strict order of operations: ceilings are always hung before walls. When a ceiling sheet is fastened against the joists or trusses, it extends all the way to the perimeter framing. When the upper wall sheets are then lifted and pressed firmly into position, they act as a continuous mechanical ledge that locks the perimeter of the ceiling sheets tight against the top plates.
This ceiling-first method provides two critical advantages: it supports the edges of the horizontal board, preventing perimeter sag, and it creates a clean 90-degree internal corner that can be taped without excessive compound buildup.
Working With Real-World Framing in the Foothills
Lumber framing is rarely flat. Studs have natural crowns, older additions may have settled, and ceiling joists frequently exhibit slight variations in height. Forcing a rigid sheet of drywall over an excessively crowned stud produces a distinct bulge that telegraphs through any finish, while hollow cavities behind fasteners cause screws to break the paper face.
Before hoisting sheets, Jeff examines the framing plane with a straightedge. High crowns are planed down, framing voids are shimmed, and backing is added at corners or partition intersections where necessary. By correcting framing irregularities beforehand, the drywall lies naturally flat without internal tension.
Fastener Depth and Screw Spacing
Every screw must be driven to an exact depth: recessed approximately 1/32 of an inch below the surface of the drywall paper without rupturing the face fibers. If the screw head is left proud, the taper’s trowel will click against metal; if the screw is over-driven and punctures the paper, the holding strength of the fastener drops to nearly zero, resulting in eventual fastener pops.
Screws are spaced systematically—generally 12 inches on center for ceilings and 16 inches on center for walls, adhering strictly to local building codes for shear and dead load.
Moisture-Resistant and Fire-Rated Assemblies
Different rooms demand specific board chemistry. In bathrooms, water closets, and laundry facilities, moisture-resistant gypsum boards (commonly green board or purple board) are installed to resist elevated humidity and inhibit mildew growth behind finish materials.
Between living spaces and attached garages, building codes mandate Type X 5/8-inch fire-rated assemblies. Type X drywall incorporates non-combustible glass fibers embedded within a dense gypsum core to delay heat transmission during a fire event. Jeff installs 5/8-inch board with the exact fastener spacing and edge overlap required to maintain the fire separation barrier.
Frequently Asked Questions: Drywall Installation
Why should drywall ceilings always be hung before the walls?
Ceiling sheets are installed first so that the wall sheets pushed tight underneath them physically support the ceiling edges along the room perimeter. This creates a tight corner joint, prevents perimeter sagging, and minimizes stress cracking as the building settles.
What screw pattern and fastener depth is required for drywall?
Proper drywall screws are set just below the surface paper without tearing through the paper face. Screws are typically spaced 12 inches on center for ceilings and 16 inches on center for walls along studs, with double fastening where required by code.
How do you handle framing that is out of plumb or uneven?
Foothill construction and older homes often feature bowed studs, crowns, or uneven ceiling joists. Before fastening sheets, Jeff inspects the framing, planes high spots when appropriate, and uses shims where necessary so the board does not bow or create uneven joints for taping.
Where are moisture-resistant and fire-rated drywall required?
Moisture-resistant drywall (green board or purple board) is installed in bathrooms, laundry rooms, and kitchens behind tile backer or paint. Type X 5/8-inch fire-rated drywall is required on walls and ceilings separating an attached garage from living spaces.
Ready to discuss your drywall hanging scope?
Call Jeff Duncan directly to go over plans or schedule a site walk.
Service Area Map — Sierra Foothills
Request a Quote
Tell me about the job and I'll get back to you.